
DIRT!!!!
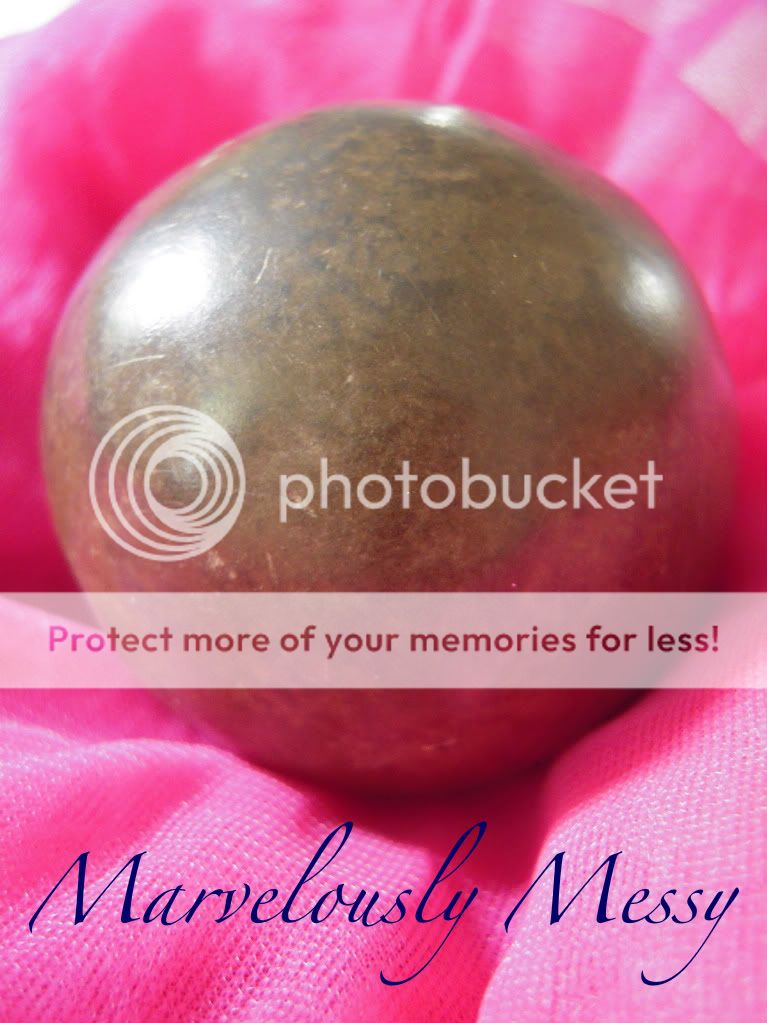
You want some dirt with a good amount of clay (that's what holds the whole project together). Add some water to make a mud ball and shape it into a sphere. Once it hold the shape, add some dry dirt to it and use the curve of your thumb to begin shaping it into a ball. Like THIS:

Add dirt, but you want to avoid getting to the paint where cracks start to form. If that does happen just add a little water and it should reform. Once you've reached that stopping point, put the ball in a ziplock bag and set it down on something soft (so it will retain a round shape) in the shade. The moisture will come out of it and line the bag. Take it out after a while (maybe an hour) and repeat the last step. Set it in the shade again and let the moisture wick out of it again. I kept mine it the bag overnight after that. The next day I took some extra fine sand and added it to the ball. Then I put in in a ziplock and put it in the fridge (this pulls the water out much faster) for 20 minutes. I repeated that step as many times as I could until when you bring it out of the bag that wasn't any moisture left in the bag. I sifted on the finest dirt I could get and began the process of polishing. Using a piece of satin (you want the softest cloth you can find), I polished it until it got to the highest shine I could make. You want to be careful because it is possible to over-polish it and work right down to the layer of sand beneath. Some dorodango can get to a really high shine and some will only make it a little of the way. The trick is to get the finest dirt possible for the last layer that is placed upon it.
 It was still a lot of fun, though!! If you have the inclination the next time you are on the beach, you should make some of these and just leave them around. You will no doubt bewilder the next people to pass that spot on the sand. :-)
When we went on vacation in April we were on the beach and I first tried this craft as I was plunked down on the sand. It is possible to get some really fun hard sand spheres....but they will not get shiny....it's the clay that really makes it all work.


All this dirt came right from my garden. Pretty cool, huh?? I plan to find a variety of different colored dirt and make some other dorodango....all the colors of the rainbow. Here are some of the many possibilities....look how shiny this artist makes them. I've got a lot of work to do. :-)


Here are some of the parties I linked up to, check them out and be inspired!!

Thifty Thursday
Frugalicious Friday
Frugal Friday
Saturday Nite Special
Nifty Thrifty Tuesdays
Works For Me Wednesday
Penny Pinching Party
Thrifty Thursday
Frugalicious Friday
Frugal Friday
Friday Favorites