

DIRT!!!!
You want some dirt with a good amount of clay (that's what holds the whole project together). Add some water to make a mud ball and shape it into a sphere. Once it hold the shape, add some dry dirt to it and use the curve of your thumb to begin shaping it into a ball. Like THIS:

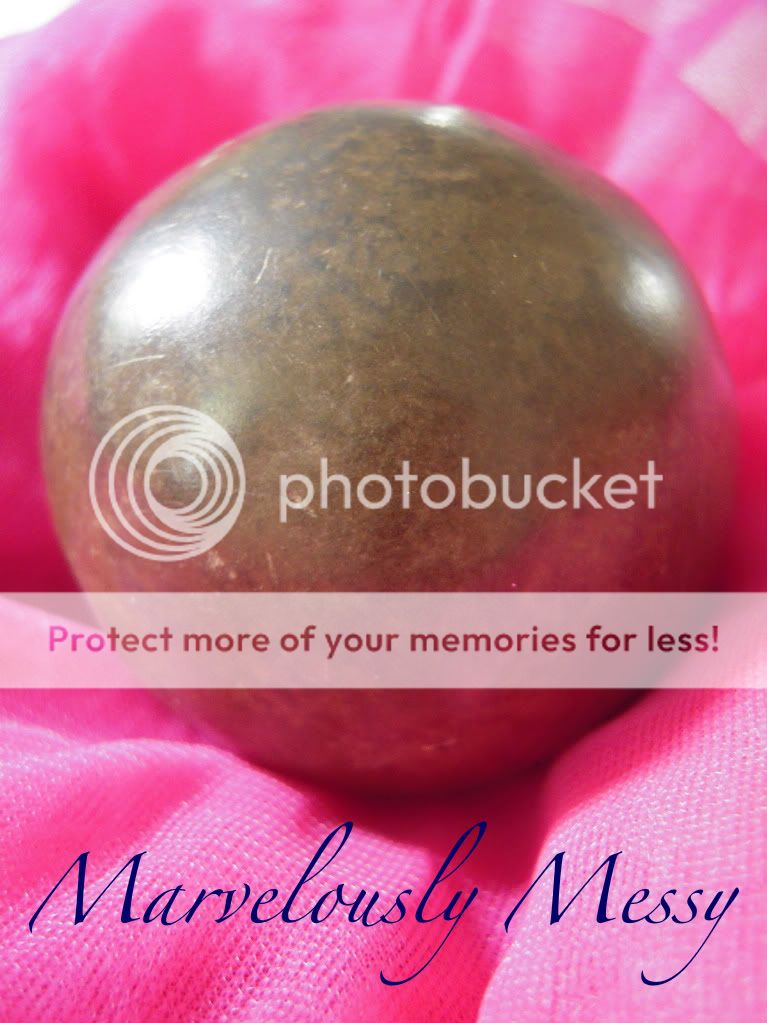
Add dirt, but you want to avoid getting to the paint where cracks start to form. If that does happen just add a little water and it should reform. Once you've reached that stopping point, put the ball in a ziplock bag and set it down on something soft (so it will retain a round shape) in the shade. The moisture will come out of it and line the bag. Take it out after a while (maybe an hour) and repeat the last step. Set it in the shade again and let the moisture wick out of it again. I kept mine it the bag overnight after that. The next day I took some extra fine sand and added it to the ball. Then I put in in a ziplock and put it in the fridge (this pulls the water out much faster) for 20 minutes. I repeated that step as many times as I could until when you bring it out of the bag that wasn't any moisture left in the bag. I sifted on the finest dirt I could get and began the process of polishing. Using a piece of satin (you want the softest cloth you can find), I polished it until it got to the highest shine I could make. You want to be careful because it is possible to over-polish it and work right down to the layer of sand beneath. Some dorodango can get to a really high shine and some will only make it a little of the way. The trick is to get the finest dirt possible for the last layer that is placed upon it.
 It was still a lot of fun, though!! If you have the inclination the next time you are on the beach, you should make some of these and just leave them around. You will no doubt bewilder the next people to pass that spot on the sand. :-)
When we went on vacation in April we were on the beach and I first tried this craft as I was plunked down on the sand. It is possible to get some really fun hard sand spheres....but they will not get shiny....it's the clay that really makes it all work.


All this dirt came right from my garden. Pretty cool, huh?? I plan to find a variety of different colored dirt and make some other dorodango....all the colors of the rainbow. Here are some of the many possibilities....look how shiny this artist makes them. I've got a lot of work to do. :-)


Here are some of the parties I linked up to, check them out and be inspired!!

Thifty Thursday
Frugalicious Friday
Frugal Friday
Saturday Nite Special
Nifty Thrifty Tuesdays
Works For Me Wednesday
Penny Pinching Party
Thrifty Thursday
Frugalicious Friday
Frugal Friday
Friday Favorites


Very cool in a very offbeat way...
ReplyDeletespeaking offbeat - I've been on a posting freak and so you might have missed the Tree of Gondor Shield as it is already down on the second page. ;0
Wow this is so unique and very cool! Thanks so much for sharing this - every intersting! Yours looks fabulous! Hope you are enjoying your weekend! ~ Stephanie Lynn
ReplyDeleteWow, I have never heard of these before, very cool!
ReplyDeleteThat is crazy my boy's and I are amazed that that is just made from dirt and water, way cool!
ReplyDeleteOkay this is so neat! I have never of heard this. Very cool indeed!
ReplyDeleteThis is absolutely fascinating! I'm going to bookmark this post and share it with my children, I'm sure they'd like to try it. God's earth constantly amazes me! Thanks so much for sharing the Dorodango! I'd love for you to come see me - I'm giving away 3 gorgeous Sam Moon cuff bracelets here:
ReplyDeletehttp://sceneofthegrime.blogspot.com/p/domestic-detective-wants-to-cuff-ya.html
Have a lovely day, ♥Laurie
That is really really neat! I think I may have to try it.
ReplyDeleteLooks like a very soothing thing to do.
This is so cool - it looks like a bocce ball. I wonder if it's hard enough to play bocce:)
ReplyDeleteLove this idea! I'll try it on vacation at the Oregon coast next month, I love the idea of leaving them on the beach for others to find.
ReplyDeleteThis is unbelievable; love such a random purposeful art. Thank you so much for sharing this technique - it's the first time I've heard of it.
ReplyDeleteNice! Working in a Japanese kindergarten I've made more than my fair share of the sand type, ut have never tried the polished ones.
ReplyDeleteOne tip is don't make them too small, or they'll be tricky to shape. The kids at work add finer and finer sand by pouring it over the dango and then passing the all from hand to hand to work it in without rubbing.
Now that is very cool. I've never heard of such a thing.
ReplyDeleteDon't consider my self a crafty person - but this is DOABLE!!! Thanks!
ReplyDeleteLove this idea! So unique and creative. Thanks so much for linking to the Sunday Showcase party! I greatly appreciate it! Hope you are having a fabulous week! ~ Stephanie Lynn
ReplyDeleteHi Missy! I’ll be featuring your spheres today! Stop by and grab a featured button if you like. Thanks again for joining the Sunday Showcase Party! ~ Stephanie Lynn
ReplyDeleteThat is a really neat project!
ReplyDeleteWOW -- I LOVE this kind of thing. It's crazy amazing. I really want to make one. Thanks for sharing this unique "bragable" on the Boardwalk Bragfest.
ReplyDeleteThis has to be a one of a kind post.
ReplyDeleteFascinating. I know I will be trying this with different types of soils and sand.
Thank you.
http://dogsmom.wordpress.com
Very interesting.
ReplyDeleteI swear there is a monster on Zelda with that name.
That is really neat! Thanks for sharing that with us! :) I can't believe how shiny dirt can get!
ReplyDelete~Kim
I sent this link to two of my sisters, and I swear we're gonna try it! To me, it seems akin to whittling, some little something to do to relax. Thanks for showing us how!
ReplyDeleteWhat a special item you have created, thanks for sharing.
ReplyDeleteWow, I've never seen this before. This would be a great accessorie for a garden, placeing them in sets of three in different spots for visual effect.
ReplyDeleteI have never heard of these! It's so neat, and I love the marbled coloring. Are they very fragile once they are completely dried/polished? I wonder if they would last sitting in a garden bed or if they would absorb moisture and fall apart? So interesting, glad I came across this! :)
ReplyDeleteWhat a marvelously quirky tutorial! Love it!!!
ReplyDeleteWas wondering whether you would be interested in featuring in my monthly round robin: Get Crafty. This months theme is "Man Made" - though i think it may have fitted better last month (Nature), this is too fun not to include.
Here is Nature Get Crafty as a reference! http://redtedart.wordpress.com/2010/06/01/get-crafty-june-2010-inspired-by-nature/
Let me know by leaving a comment!!! And DO grab a button too ;-)
Look forward to hearing from you!
Maggy x
How interesting! Thanks for linking up for Friday Favorites!
ReplyDeleteThis is crazy. Wow...who would have ever thought this is possible. I am going to try this with my son.
ReplyDeleteWow, what a neat idea. I think I might have to try this with a few of my crafty sisters.
ReplyDeleteSaw you at Funky Junk Interiors.
That is SOOOOO cool!
ReplyDeleteMidge
wow, waaay cool
ReplyDeleteFeel free to stop by and link up to my Make & Share 1st edition today and come back every friday thru saturday!
~ Christy
These are so pretty! I love how shiny they are. I'll have to see if my soil has enough clay in it, cuz it sure looks relaxing to do, too.
ReplyDeletePinning this on pinterest. :)
Cheers,
Tracy Screaming Sardine
Hi, i think that i saw you visited my weblog thus i came to “return the favor”.
ReplyDeleteI'm attempting to find things to enhance my website!I suppose its ok to use some
of your ideas!!
Also visit my blog ... styleguile.blogspot.fr
My web site : property in Murcia for sale
A 400 Amp electrical panel is a high-capacity power distribution system designed to meet the electrical demands of large homes, commercial buildings, industrial facilities, and properties with heavy power usage. It provides reliable and efficient power distribution while supporting multiple high-energy appliances, HVAC systems, electric vehicle chargers, generators, and advanced electrical equipment.
ReplyDelete400 Amp Ampere Electrical Panel in Washington, D.C.
400 Amp Ampere Electrical Panel in Boston, MA